Free creation and preview

Convert an Image to a Cross Stitch Pattern

Upload a photo, choose how much detail you want, and make a printable cross stitch pattern with DMC thread colors and a clear symbol chart.

FreeCreate & preview
LocalPrivate photos
$2.99PNG + PDF pass
Building pattern
Reading image
Matching DMC thread colors...

Your photo is processed in this browser and is never sent to checkout.

Secure one-time payment

Unlock PNG + PDF exports

$2.9924-hour export pass
  • High-resolution PNG charts
  • Print-ready PDF with thread key
  • Unlimited exports while the pass is active

Creem handles payment. Your source image and generated chart stay in this browser.

Three decisions

How to make a pattern you will enjoy stitching

A good conversion is not the one with the most pixels. It is the one that preserves the subject with a sensible number of stitches and thread changes.

01 / PHOTO

Start with a clear crop

Choose one main subject and crop away empty background. Strong edges, even light, and visible facial or pet features survive reduction better than distant scenery.

02 / PATTERN

Balance detail and effort

Increase stitch width until the important shapes read clearly. Then reduce the palette until neighboring colors look meaningfully different rather than technically different.

03 / PRINT

Check symbols before sewing

Open the black-and-white view, inspect isolated stitches, confirm the finished size, and print the tiled PDF with its thread key beside the chart.

Made for the next step

A generated pattern should work at the craft table

The converter focuses on decisions that matter after the screen is closed: floss codes, stitch counts, fabric measurements, legible symbols, and printable pages.

Practical DMC matches

Every sampled pixel is matched to a close shade in a curated DMC palette, then similar low-use colors are removed to keep the shopping list manageable.

Countable symbol chart

Switch from the color preview to a high-contrast symbol view with heavier guide lines every ten stitches, so rows remain easy to follow on paper.

Real finished dimensions

Choose 14, 16, 18, or 22 count fabric and see the stitched width and height before cutting cloth or choosing a hoop.

Print-ready PDF

The PDF includes project dimensions, a DMC thread key, stitch totals, and tiled pattern pages rather than shrinking a large design onto one unreadable sheet.

Private by default

Conversion happens inside your browser. A family portrait, pet photo, or gift idea is never sent to an image-processing server.

Fast creative comparison

Move between the original photo, stitched color preview, and printable symbols while changing the width or palette until the result feels sewable.

Pattern ideas

Choose the treatment that fits the subject

Flowers tolerate bold color reduction, animals depend on expressive eyes and markings, and portraits need a larger grid with carefully separated skin tones.

Before you buy floss

Treat the first result as a draft

Photo conversion compresses continuous light into a limited grid and a limited set of real thread colors. That means every automated chart involves judgment. Inspect the silhouette first: can you recognize the subject at arm's length? Next, look for confetti stitches, which are single squares surrounded by unrelated colors. A few add sparkle; hundreds make a project slow and visually noisy.

For most gifts, begin around 60 to 80 stitches wide and 14 to 20 colors. Increase the width for faces, lettering, or architectural details. Decrease the color count for logos, cartoons, and decorative motifs. The symbol chart exposes complexity that a smooth color preview can hide, so always review both views before printing.

Read the complete photo conversion guide
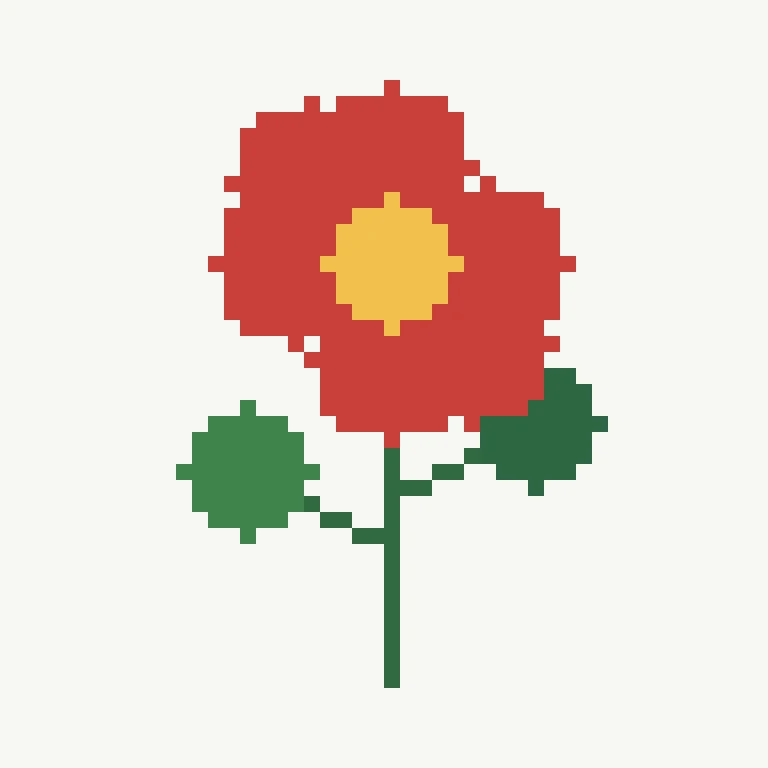
Stylized bouquet source image used by the cross stitch converter
Planning the project

Frequently asked questions

Answers to the practical questions that usually appear between uploading a photo and making the first stitch.

How do I turn a photo into a cross stitch pattern?

Upload a JPG, PNG, or WebP image, choose the pattern width and number of thread colors, then review the generated symbol chart. The converter reduces the image to a stitch grid and matches each color to a close DMC floss shade. Purchase an export pass only when you want the PNG or PDF files.

Is the cross stitch pattern maker free?

Pattern creation, settings, previews, dimensions, and the DMC thread key are free without an account. Downloading high-resolution PNG and printable PDF files requires a one-time export pass, and exported files do not include a watermark.

Are my photos uploaded or stored?

No. Image conversion runs locally in your browser. Your photo is not sent to our server, and refreshing the page clears the working image from the tool.

What does the export pass include?

One payment unlocks high-resolution PNG charts and printable PDFs for the access period shown before checkout in the same browser. You can adjust the pattern and export again while the pass is active. No site account is required.

Which photos make the clearest cross stitch patterns?

Use a sharp image with one main subject, clear lighting, and simple background shapes. Close crops usually convert better than wide scenes because each important detail receives more stitches.

How many DMC colors should I choose?

Begin with 12 to 20 colors for a medium pattern. Six to twelve colors suit simple graphics, while portraits and shaded flowers may need 20 to 30. Reduce the palette until isolated single stitches and very similar shades disappear.

How do I calculate the finished pattern size?

Divide the stitch count by the fabric count. A 70-stitch-wide design on 14-count Aida is 5 inches wide. Add at least 2 to 3 inches of blank fabric on every side for a hoop, frame, and finishing.

Are screen colors exactly the same as DMC thread?

No. Monitor settings, photography, dye lots, and lighting can all shift color. The DMC matches are practical approximations. Check the suggested skeins together in natural light before starting a large project.

Ready to turn a photo into stitches?

Open the maker above or learn how to prepare a difficult image first.

Make a pattern Read the guide